HOW TO USE

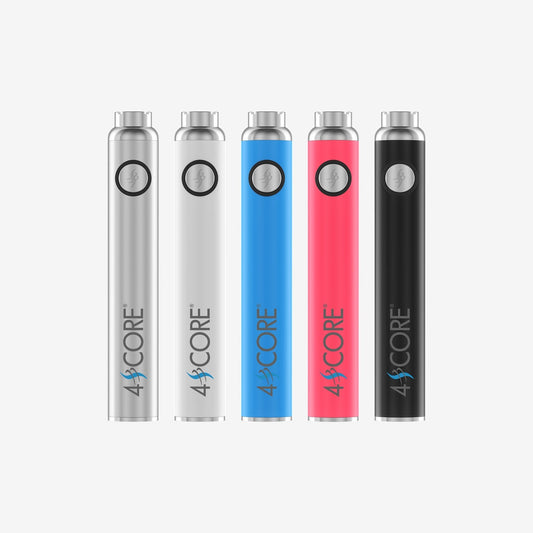
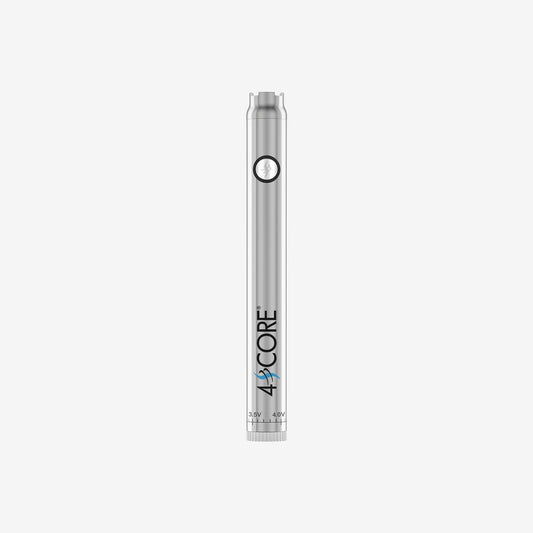
DAY PEN
INITIAL SETUP:
- Before using, unscrew the pre-attached USB charger. The pen should already be fully charged.
POWER ON/OFF:
- Click the button 5 times to toggle power. A triple-blink of the battery light confirms the action.
CARTRIDGE ATTACHMENT:
- Connect your 510-THREADED CARTRIDGE to the battery.
- Ensure it's not too tight, but still snugly attached.
USAGE:
- Adjust voltage using the twist function at the pen's bottom based on the concentrate and cartridge type. Tip: Start on the lowest setting. Many users find 2.7V ideal. Avoid a burnt popcorn taste—it indicates excessive heat!
- To use, press and hold the button while drawing on the pen.
- For concentrates like CBD that may crystallize or clog, employ the pen’s pre-heat mode:
- Double-click the button to initiate (indicated by a blue and red flash).
- The mode lasts 15 seconds but can be halted earlier with a single button click. Remember, it drains battery faster and should be used sparingly.
CHARGING:
- Connect the USB charger to the pen as received.
- Attach the charger to a compatible USB device or block. Tip: If charging seems off, test with another charging block.
DUAL CHARGE
INITIAL SETUP:
- The 4SCORE® Dual Charging Port 510 Battery comes unpackaged and without its own charger.
- As it's compatible with both Type-C and iPhone chargers, ensure you have one on hand before first use.
POWER ON/OFF:
- Click the button 5 times to toggle power. A series of blinks from the battery light confirms your action.
CARTRIDGE ATTACHMENT:
- Connect your 510-THREADED CARTRIDGE to the battery.
- Ensure it's not overtightened, but remains snugly in place.
USAGE:
- The battery features adjustable voltage. Change the setting by triple-clicking the button. The distinct light patterns indicate the respective voltages:
- Green: 2.8V
- Blue: 3.6V
- Red: 4.0V
- For inhaling, press and hold the button during your draw.
- For concentrates that might require preheating, use the 2-Click Preheat Function:
- Double-click the button to start the preheat mode.
- The mode will continue for 15 seconds.
CHARGING:
- As the battery doesn't come with its own charger, utilize either a Type-C or iPhone charger, depending on your preference and availability.
- Connect the charger to the battery's dual charging port and then to a suitable power source or block. Tip: Regularly check for compatibility and efficiency of the charging sources to ensure optimum battery health and longevity.
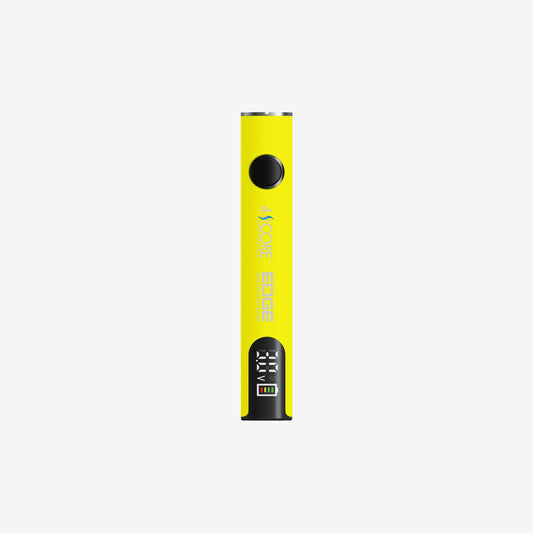
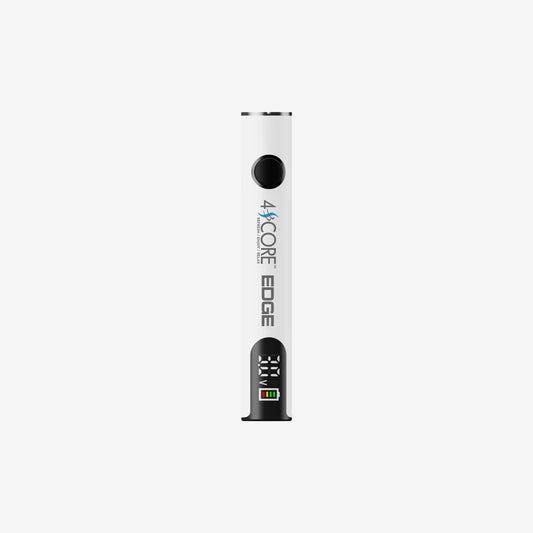
EDGE
INITIAL SETUP:
- Before using, unscrew the pre-attached USB charger. The pen should already be fully charged.
POWER ON/OFF:
- Click the button 5 times to toggle power. A triple-blink of the battery light confirms the action.
CARTRIDGE ATTACHMENT:
- Connect your 510-THREADED CARTRIDGE to the battery. Ensure it's not too tight, but still snugly attached.
USAGE:
- Adjust Voltage: Click the button 3 times to cycle through voltage settings. Tip: Start on the lowest setting. Avoid a burnt popcorn taste—it indicates excessive heat!
- To Use: Press and HOLD the button while drawing on the pen.
-
Pre-Heat Mode: For concentrates that may crystallize or clog, employ the pen’s pre-heat mode.
- Double-click (2) the button to initiate.
- The mode lasts 15 seconds but can be halted earlier with a single (1) button click. Remember, it drains the battery faster and should be used sparingly.
CHARGING:
Connect the USB charger to the pen as received. Attach the charger to a compatible USB device or block. Tip: If charging seems off, test with another charging block.
