INSTRUCTIONS
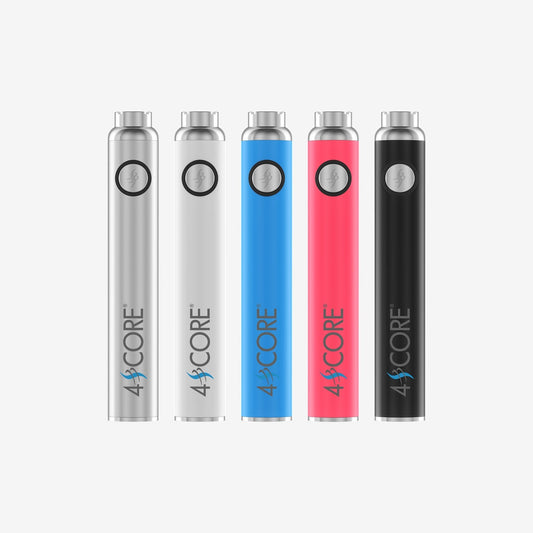
DAY PEN
FIRST TIME USERS
After removing the battery from the plastic packaging be sure to unscrew the attached USB charger prior to use (the pen should come fully charged).
POWERING ON/OFF
In order to turn your pen on/off simply click the button 5 times. Your battery light will blink three times indicating that it is now turned on/off.
ATTACHING CARTRIDGE
Attach your 510 threaded cartridge to your battery, be sure not to overtighten your cartridge and at the same time make sure it is snug.
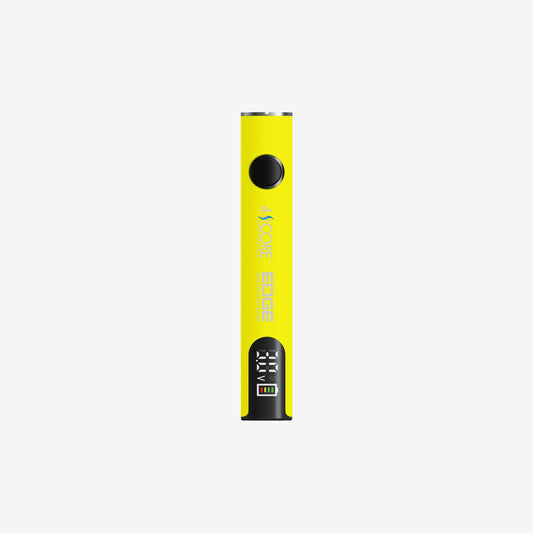
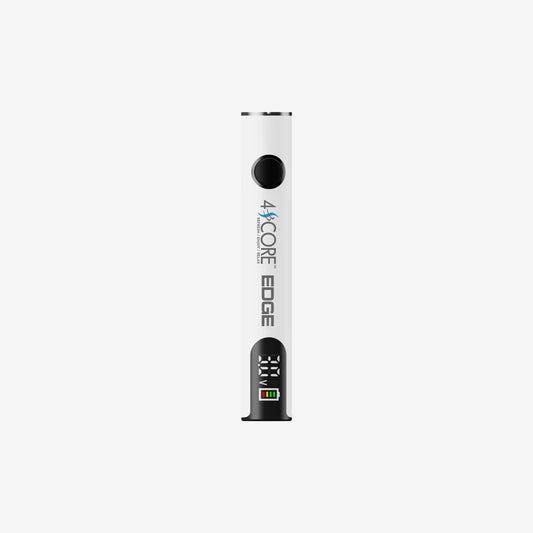
VOLTAGE ADJUSTMENT
Depending on what type on concentrate and cartridge that you are using you will want to adjust your voltage using the twist function located on the bottom of the pen.
TIP: Due to the variances in cartridges and concentrates it is recommended that you start at the lowest setting and work your way up – many clients say that 2.7V is ideal. If you taste burnt popcorn, chances are your running hot!
To inhale simply press and hold the button the entire time that you draw on the pen.
Some concentrates, like CBD, crystalize more quickly than others. If you have a clogged cartridge or one that has some crystallization you can use the pre-heat mode on the pen. To use the pre-heat feature click the button 2 times and the pen will flash blue and red indicating it is in pre-heat mode. Pre-heat mode will shut off after 15 seconds but you can stop it anytime but clicking the button once. Please note, pre-heat mode will use your battery life much faster. Pre-heat mode is not recommended to use unless necessary.
CHARGING
Your pen comes with a USB charger. To charge connect your charger to your pen as it was when you received it. Remember not to overtighten but to make sure it is snug. Plug your charger into a USB compatible charging block such as a computer, phone charger, or other device. When your pen is completely charged the light on the charger will turn green.
TIP: Different charging blocks charge differently. Some charging blocks work better than others. If your pen is not charging properly, try using a different charging block.
|
TIP: Different charging blocks charge differently. Some charging blocks work better than others. If your pen is not charging properly, try using a different charging block.
|
CURVE
FIRST TIME USERS
If you are using the CURVE be sure that you screw the magnetic ring found in your CURVE box to your cartridge before attaching the cartridge to the battery.
CONTENTS:
- CURVE Device
- USB Charger
- x2 Magnetic Rings
- Instruction Card
POWERING ON/OFF
In order to turn your CURVE on/off simply click the button 5 times. Your battery light will blink blue five times indicating that it is now turned on/off.
ATTACHING CARTRIDGE
Attach your 510 threaded cartridge to one of the magnetic rings (included in CURVE box). Screw the magnetic ring to the threaded part of your cartridge. Slide the cartridge with the magnetic end down the center of the CURVE – the magnetic ring will quickly snap into place.
VOLTAGE ADJUSTMENT
The CURVE has three separate voltage settings. To change the voltage, click the button three times. You will see the LED on the top blink. Each color represents the following voltages: Green 3.3V, Blue 3.6V, and Red 3.9V.
To inhale you have two options, the first is to simply draw from the CURVE without pressing the button, this is the auto draw feature. If you prefer to be in full control, simply press and hold the button the entire time that you draw on the CURVE.
CHARGING
Your CURVE comes with a USB charger. To charge, connect your charger to the CURVE by plugging it into the bottom (only one end will properly fit) of the CURVE. Plug your charger into a USB compatible charging block such as a computer, phone charger, or other device.
TIP: Different charging blocks charge differently. Some charging blocks work better than others. If your CURVE is not charging properly, try using a different charging block.